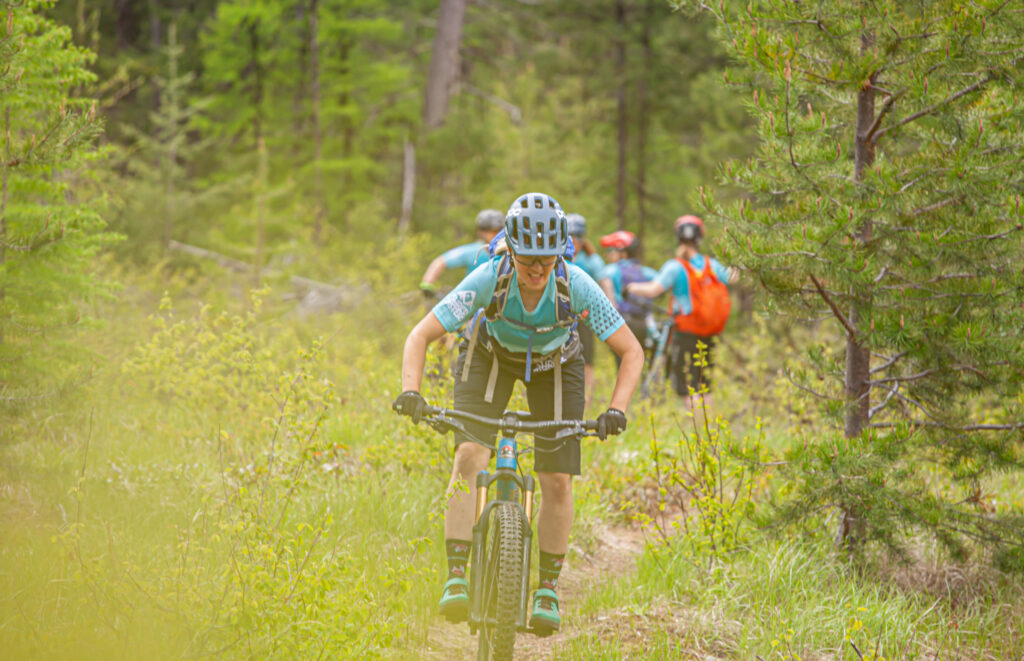
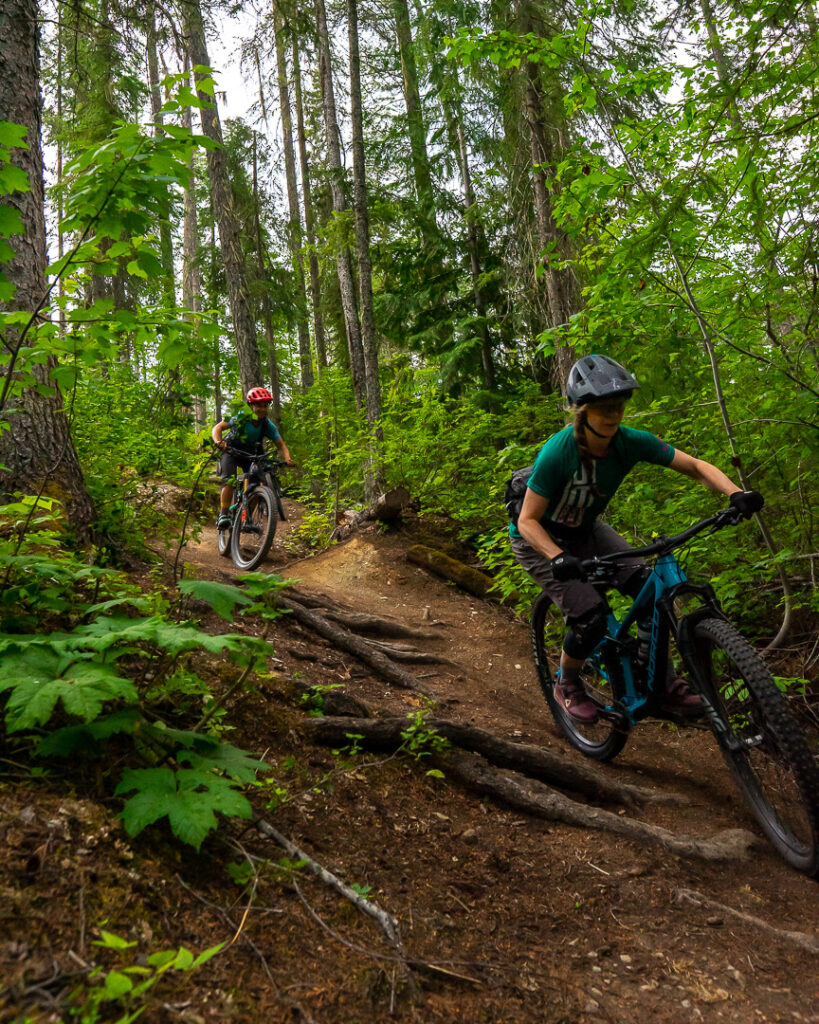
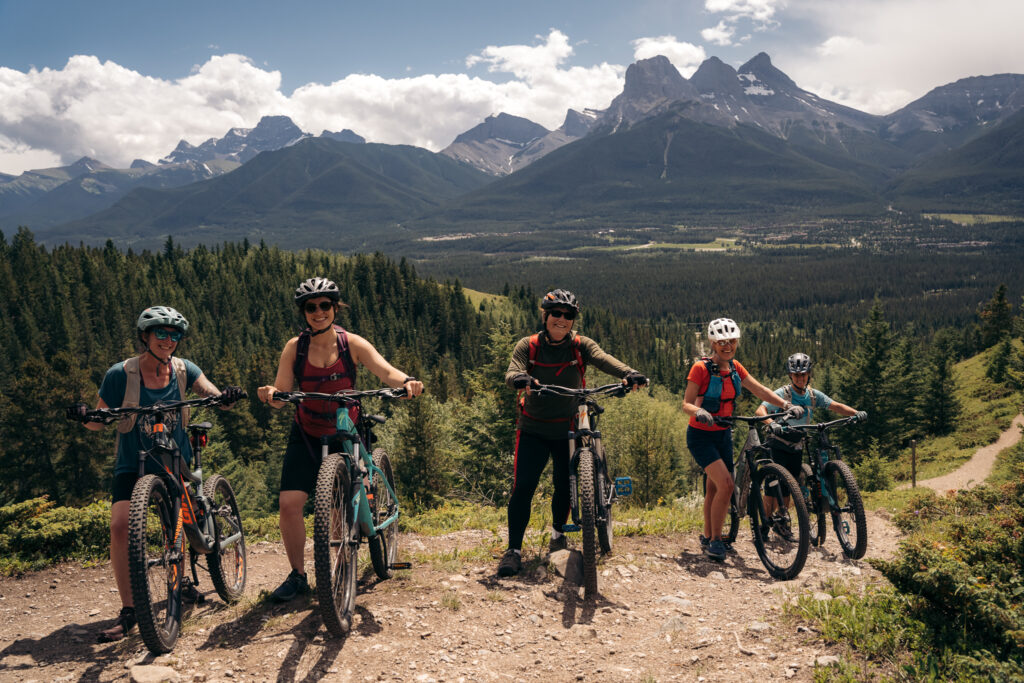

Mountain Biking
Gettin’ Down with Your Bad Self: A Newbies Guide to Downhill Mountain Biking
You may have seen videos of crazy riders going warp speed down a mountain and someone may have told you that’s what downhill mountain biking is. While those kick ass riders do exist, this is not the norm. Downhill mountain biking is quickly becoming a mainstream sport enjoyed by the likes of kids to seniors, and everyone in between.
You’re probably thinking “I like to ride cross country. I’m not interested in riding downhill!” The truth is, a few runs at a downhill mountain bike park will make you feel more confident on your bike and this confidence evolves in your day-to-day life too. And we all know that confidence is sexy, right? So basically, riding downhill will make you sexier.
While this statement may or may not be based in fact, I can tell you that by not expending the huge amounts of energy required to ride your bike up a mountain, you can focus on riding down. Anyone can get a bike up a hill (whether that be biking, walking it up, or hitching a shuttle ride)but learning proper techniques to get yourself back down increases your safety and your fun factor.
So let’s start at the beginning. Welcome to the world of downhill mountain biking!
Equipment
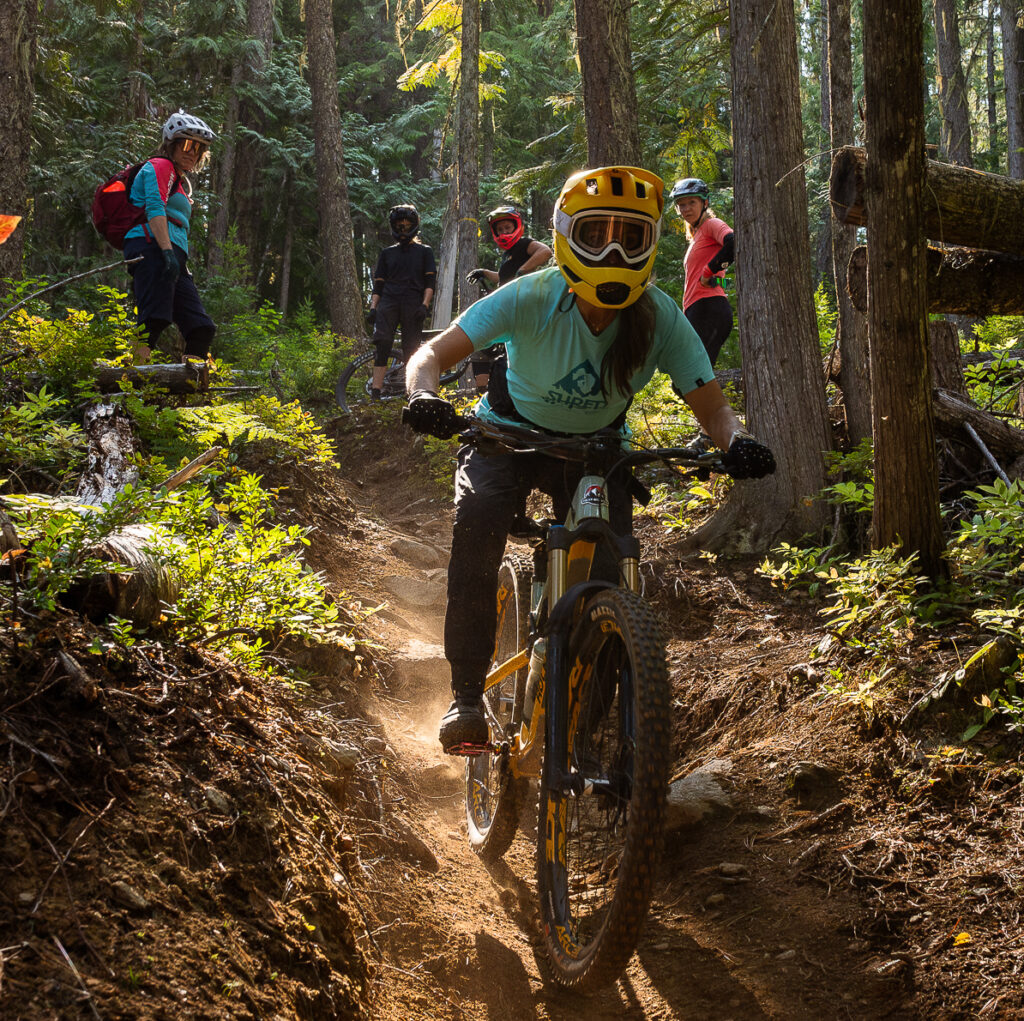
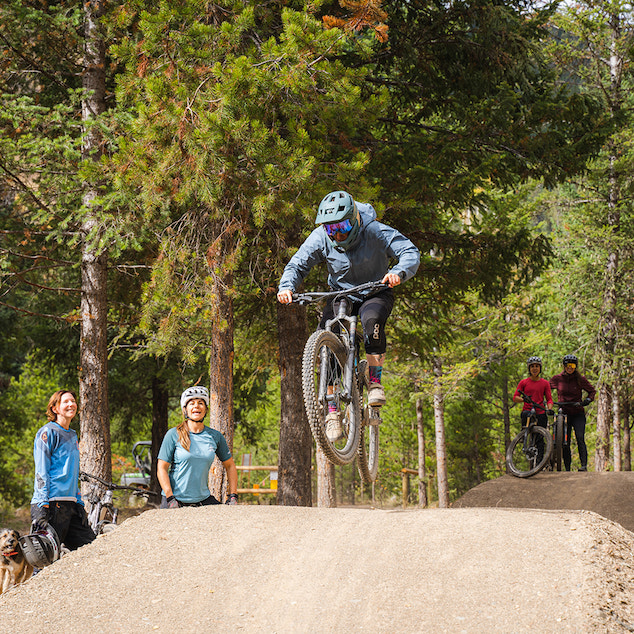
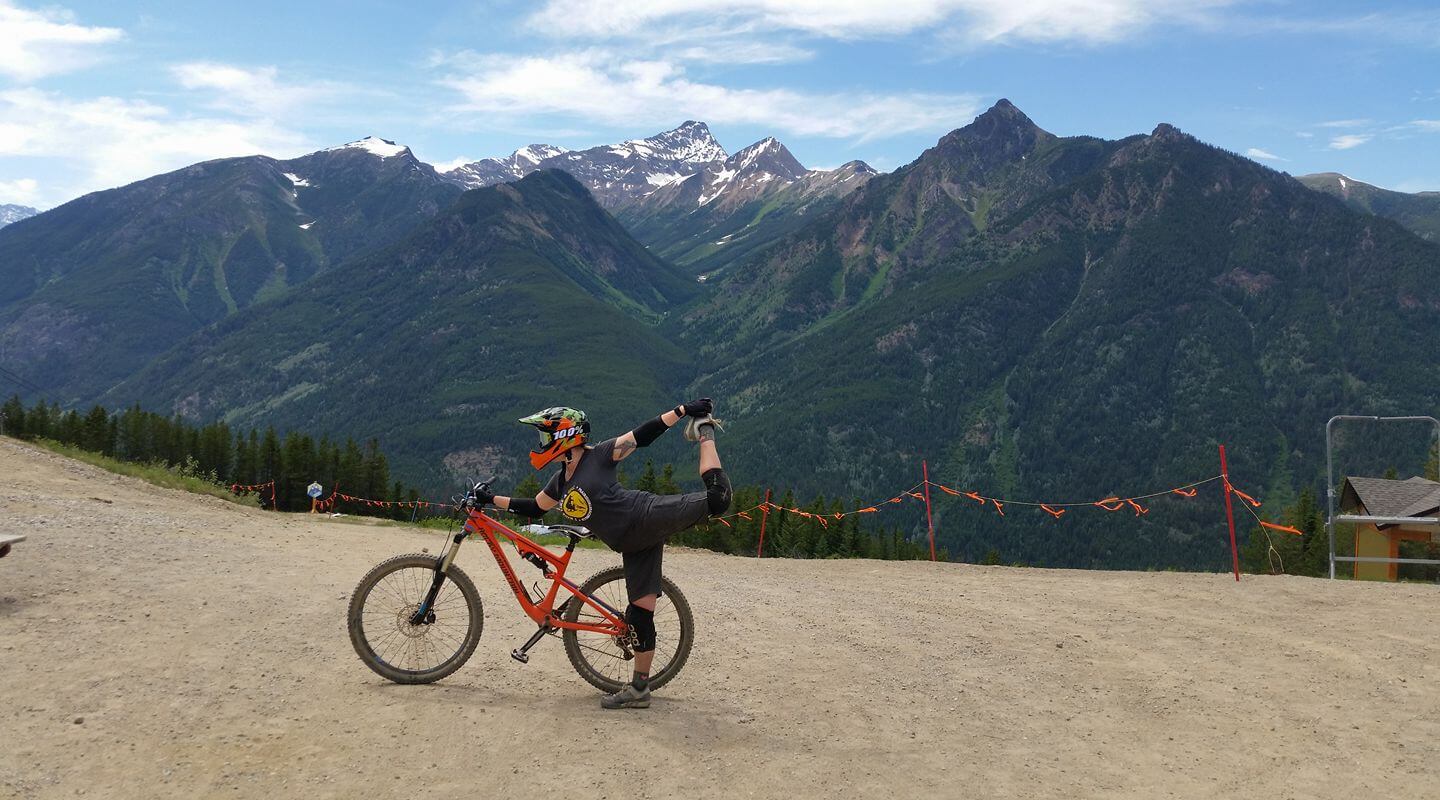
- Full Face Helmet: Riding downhill means you want something with more protection than a regular bike helmet. Plus, they make you look really bad-ass. Find one that fits snug, doesn’t have much wiggle room, and is comfortable.
- Goggles/Glasses: Your eyes are the window to your soul so protect them at all costs. Glasses are fine, but they can be a bit awkward with the full face helmet. Goggles work the best and will help cut down on the amount of dust getting into your eyes if the trail is dry. Goggles also look super cool, and remember, mountain biking is all about looking cool and having fun!
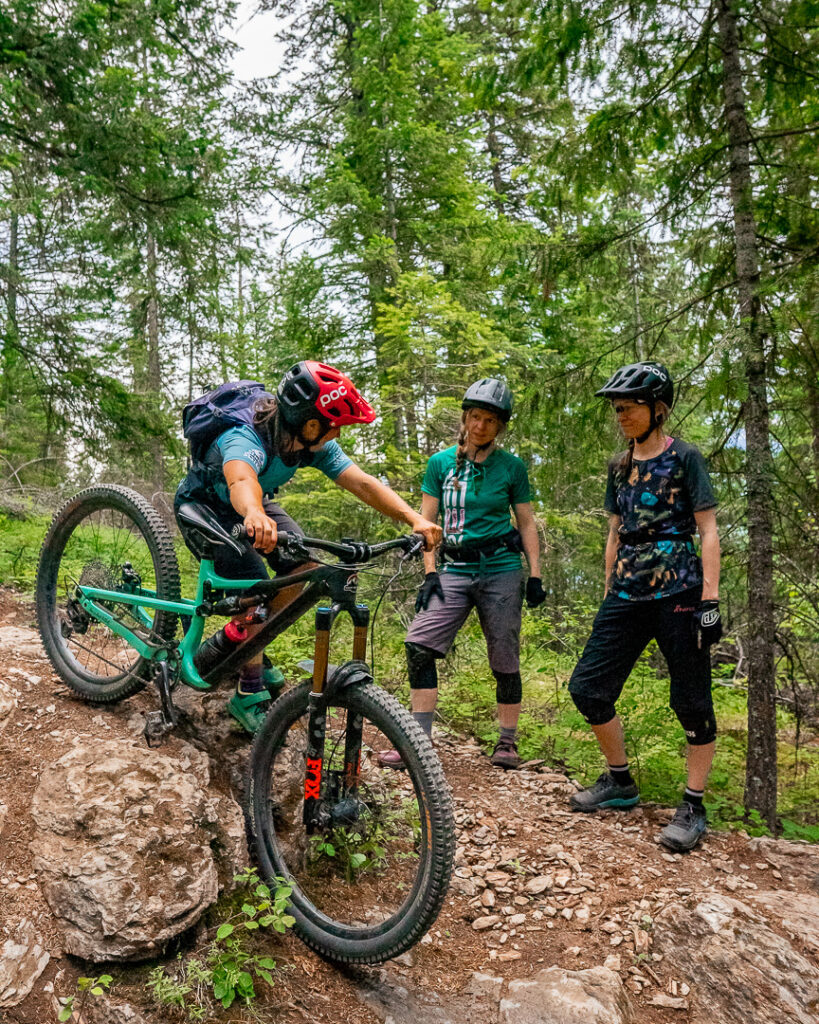
- Armour: Knee pads and elbow pads are the bare minimum of protection. If you’re really nervous then full leg protection and a chest protector are your best friends. The armour will give you a bit more confidence because if you fall off, you have less skin exposed to injury. It won’t fully protect you in all situations, but it helps. Some people find the full armour too bulky so go with what feels right to you. Gloves are also a must to protect your hands from road rash.
- Shoes: Bike shoes really are the best. They’re made of really stiff materials like leather, and the sticky rubber soles help keep your feet on the pedals. There’s nothing worse than going over a root and having your feet fly off in opposite directions because your soles aren’t grippy enough.If you are a die-hard clipless fan then ride with them. If they become more of a hazard, or make you nervous, then switch to flats.
- Clothing: Long bike shorts made out of a heavier material will give you a bit more protection in addition to your armour. Leave the spandex at home. A long-sleeved, breathable jersey is also a good choice and will allow air flow on those crazy hot summer days. It gives you a bit of sun protection too while you’re hanging out on the chairlift heading to your next run.
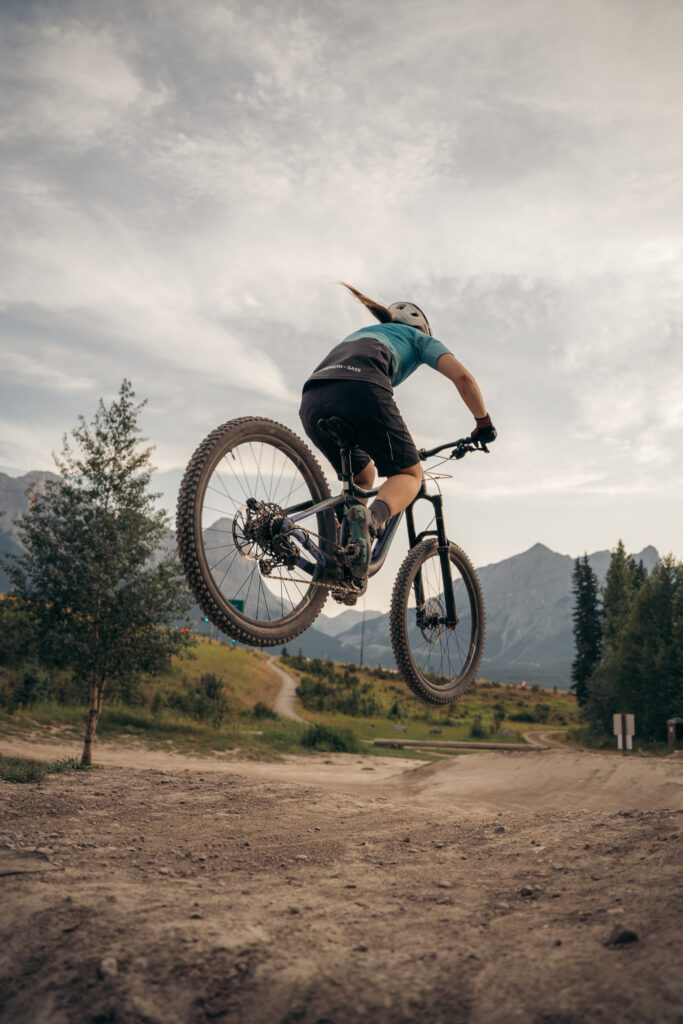
- Your Trusty Steed aka The Bike: Downhill bikes are heavier and beefier than their cross country cousins. When you get on the bike, you will feel like a little kid. The back of the bike sits lower to the ground than the front, your knees will almost reach the handlebars, and it will be awkward to pedal. That bike will handle whatever you can. Some cross country bikes will do fine at the bike park, but having more suspension, and a bike that is built for downhill riding, will make your experience more enjoyable.
In addition to this, it’s nice to have a small pack with water, a snack, a tire pump, and your cellphone. All of the equipment listed above is available for rent on the hill or at a local bike shop.
Arriving at The Hill
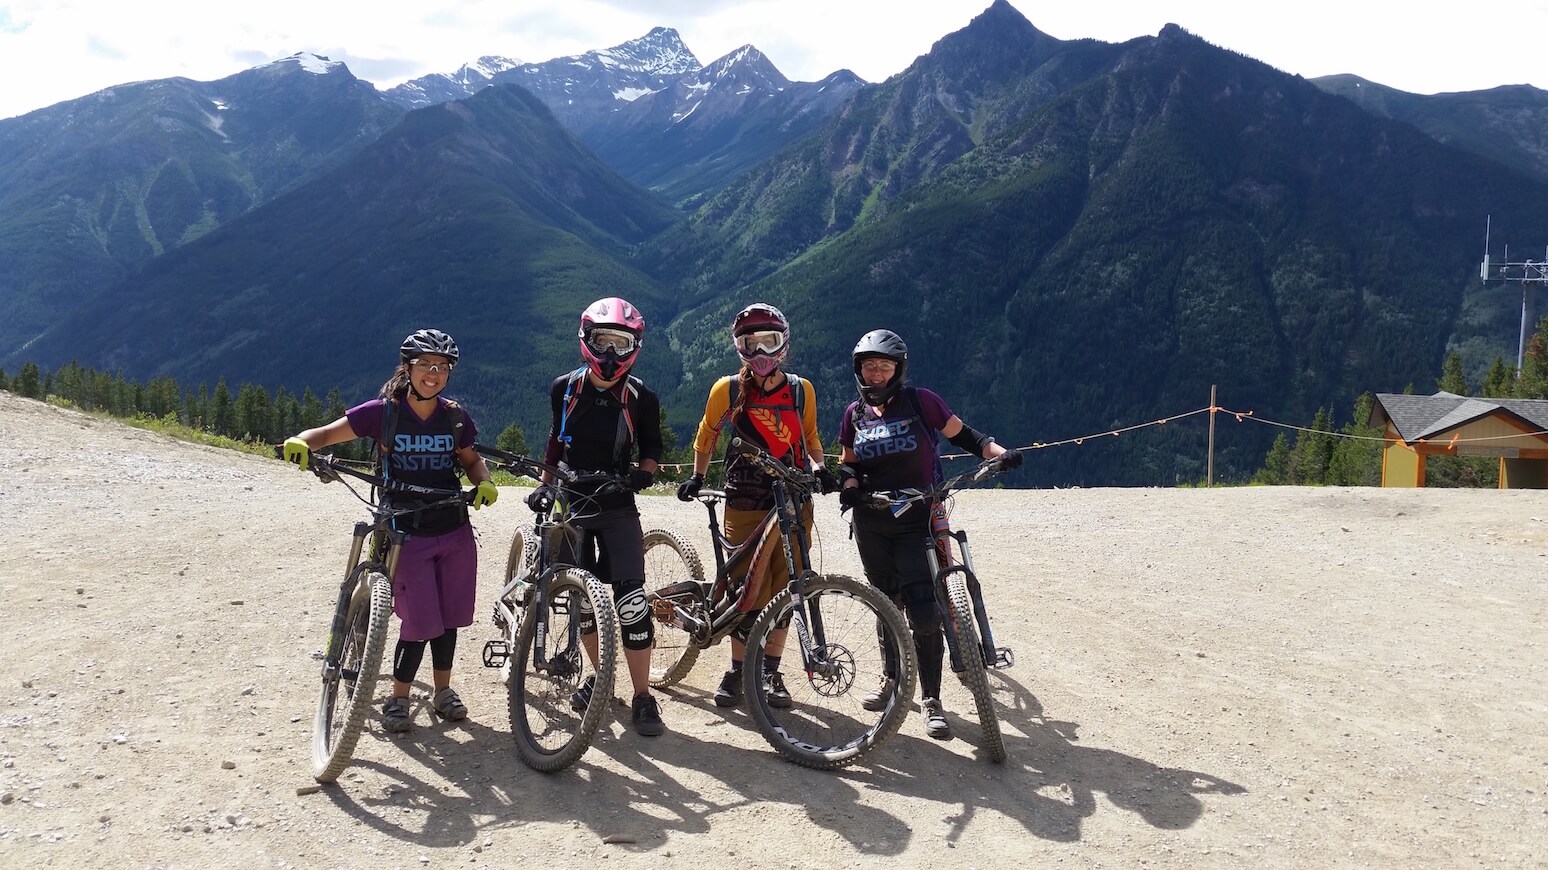
Once you arrive at the downhill park, expect to feel nervous and excited. Go with it. It means you’re being awesome and about to get out of your comfort zone.
Head over to the day lodge to get your bike pass and sign a waiver. Your bike pass looks just like a ski pass, and is scanned each time you go up the chairlift. Put it somewhere that’s easily accessible and secure. I like to put mine on my bike handlebars so I can keep track of it. If you’re renting your gear, this is where you’ll get setup with your stuff as well.
Tip: Some hills offer discounts if you buy a pass online so check out their website before you go. The savings can be significant so it’s definitely worth a look.
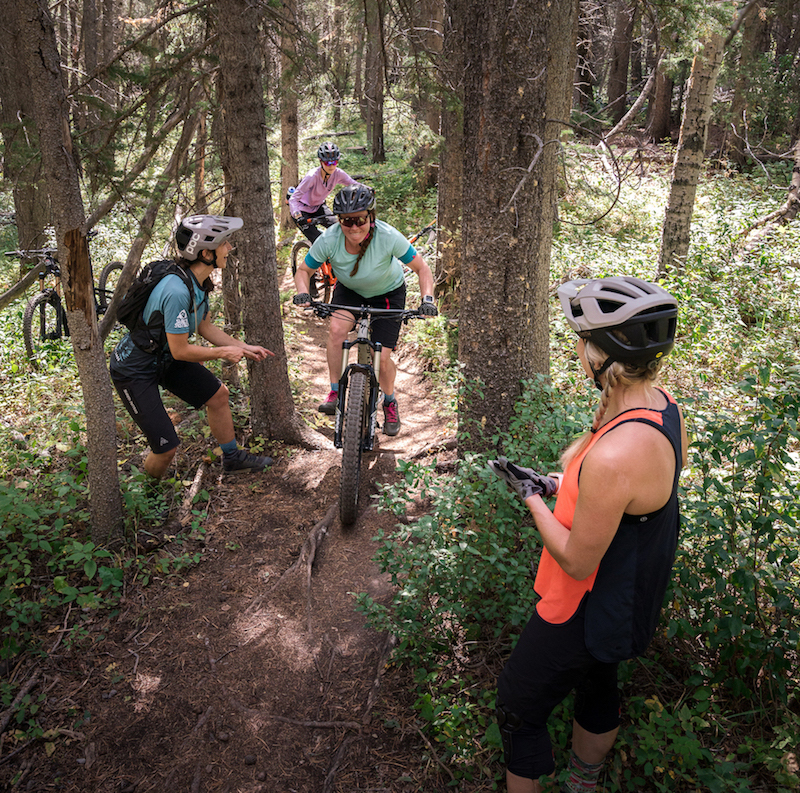
While you’re getting your pass, talk to people about trail suggestions and conditions. Local bike shops, resort workers, and people you meet on the chairlift are all great sources of information. Let them know you’re a newbie and you want to try the beginner trails. People who have ridden the park before are an invaluable source of information. But most importantly: make sure to grab a map of the hill so you have an idea of where you’re going or so you can find out where you are if you take a turn you weren’t supposed to.
Got your bike, your gear, your map? The only thing standing in your way now is loading your bike onto the chairlift. This is sometimes the scariest part for a newbie. Some lifts load fast, some load slow, and some you have to pick your bike up and hang it just right. Lucky for you, the people working the lifts are incredibly nice and helpful. They will show you how to load your bike properly, and if you’re really having trouble, will load it for you. I suggest giving it a go and figuring it out for yourself though. You’re a bad-ass downhill rider, you got this.
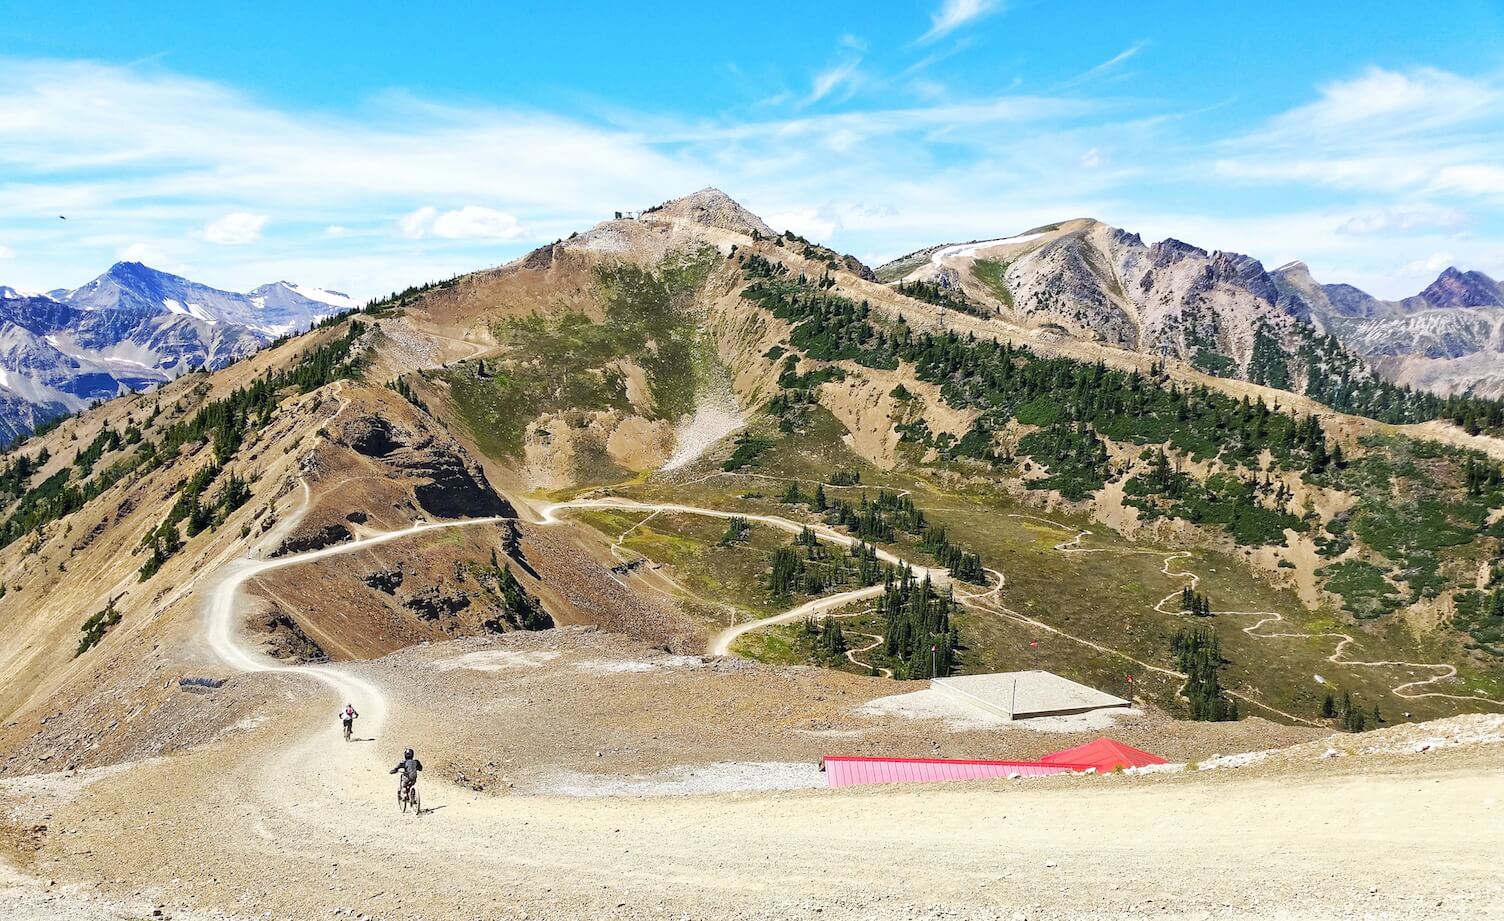
The View from the Top
After collecting your unloaded bike at the top, get the hell out of the way so the people getting off behind you have room to do the same.
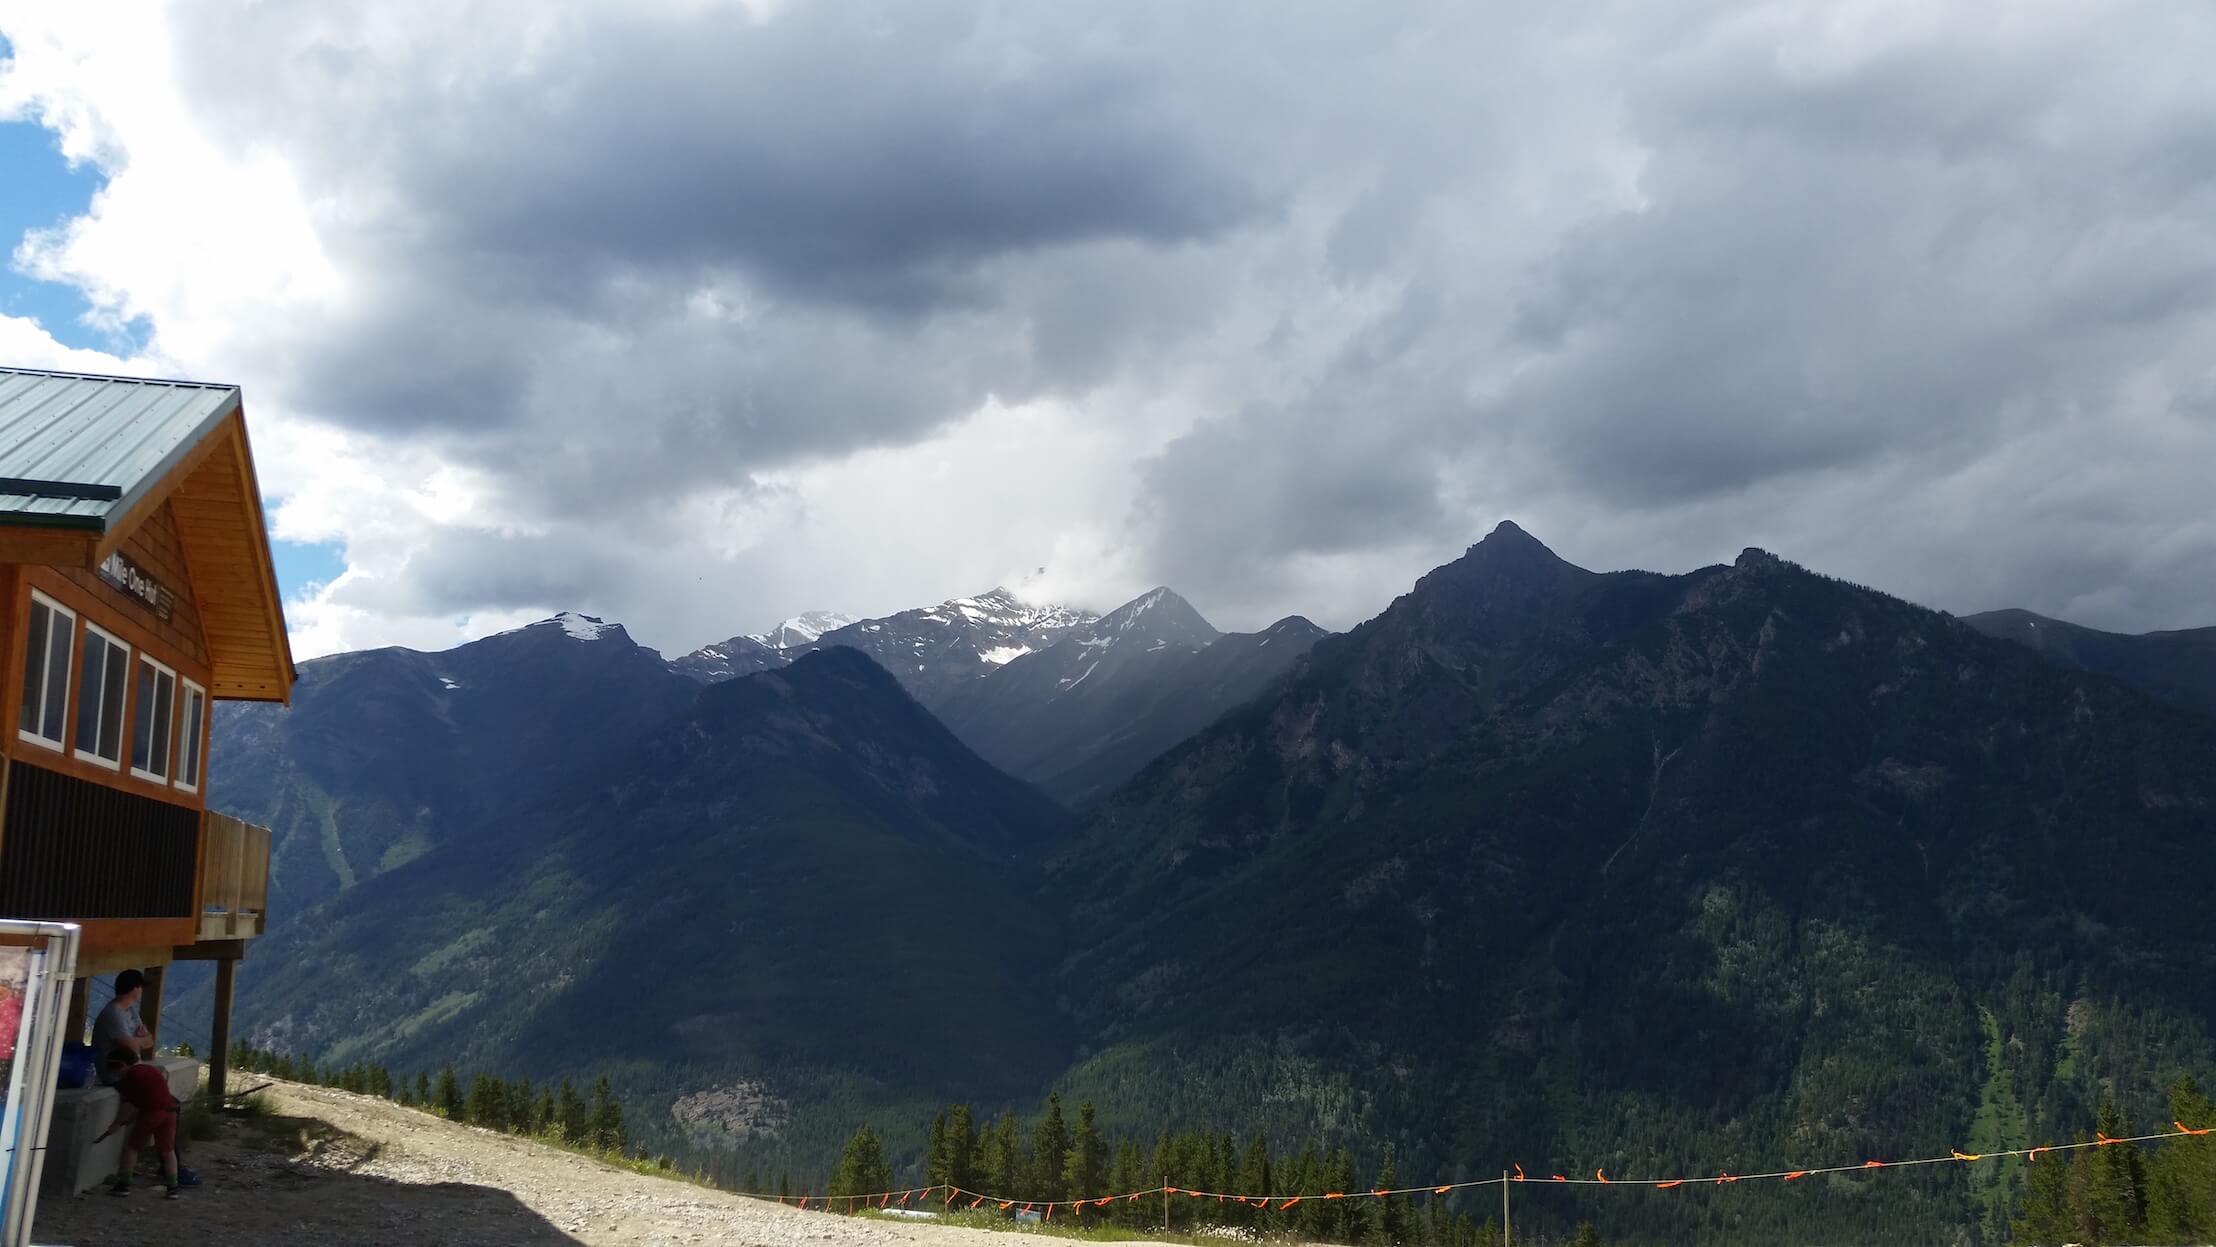
If this is your first time at the hill, go ahead and take in your surroundings. It’s probably a kickass view so take some photos, take a selfie, hell take a bike selfie if that’s your thing. Enjoy yourself, you’re here to have fun!
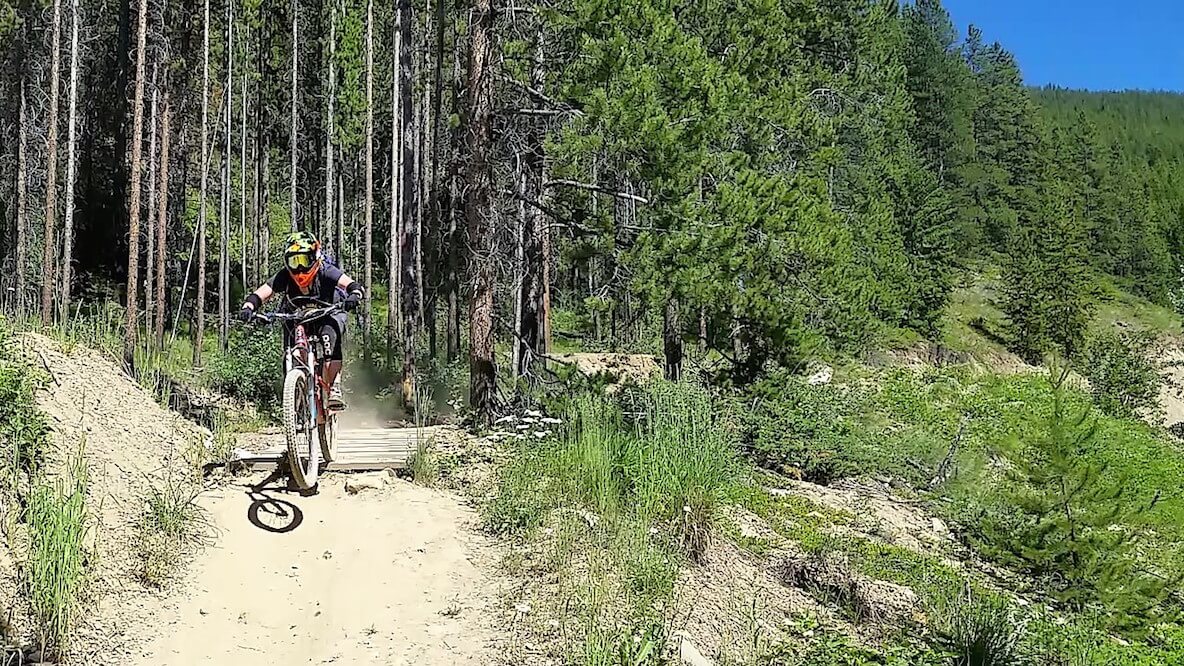
Look for a giant map to help you plan your descent down. You should have already done this on the 10-minute ride up the chairlift, but it doesn’t hurt to have another look. First run of the day? First run ever? Stick to a beginner trail to get used to your bike, the extra equipment, and the trails. See how it goes and take your time. There’s no point in screaming like a bat out of hell down a double black diamond if you crash every 10 feet. Ride within your ability in order to ride another day.
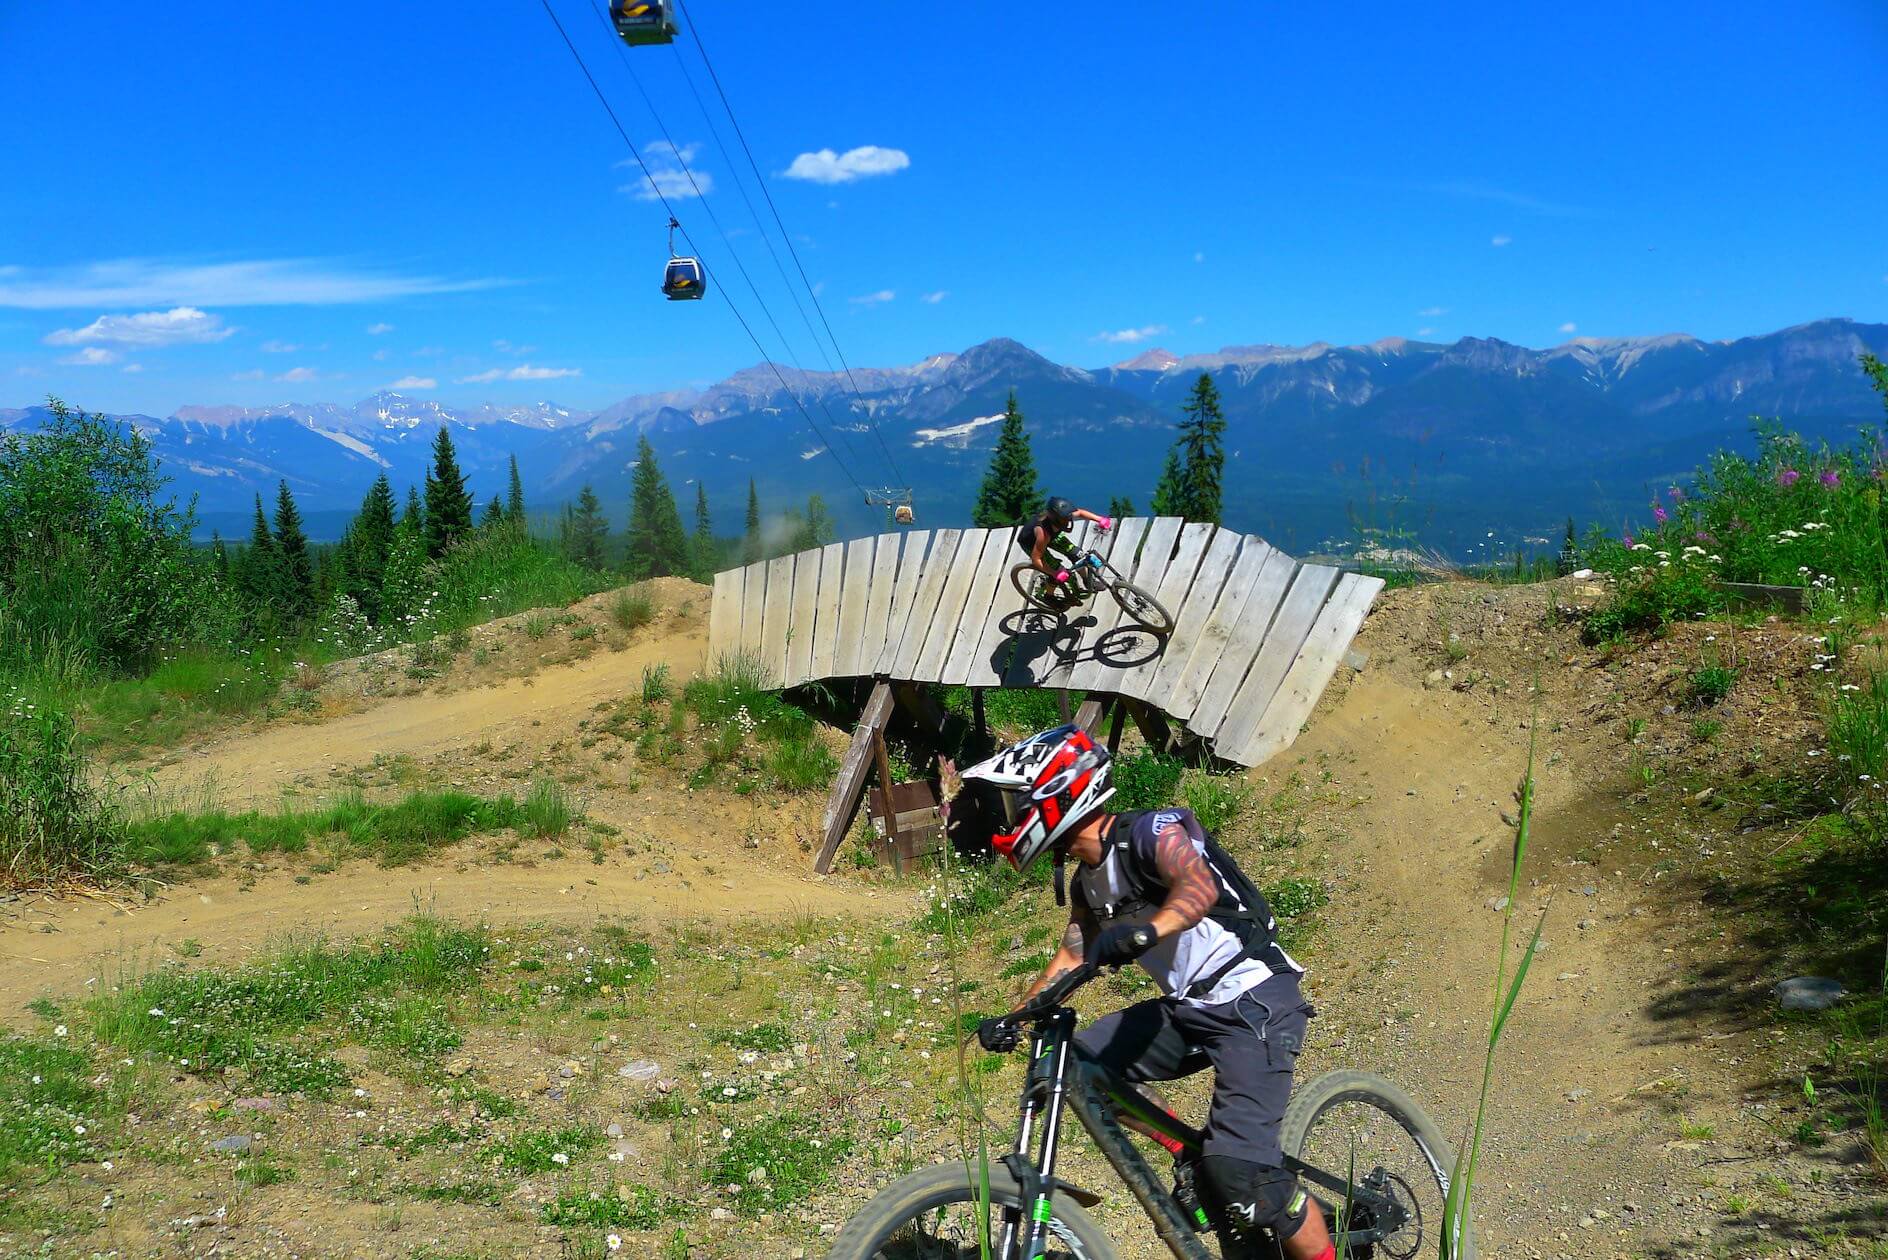
Choose trails wisely and pay attention to your surroundings. If you usually ride intermediate cross country trails, it’s a good idea to start with beginner downhill trails simply because you’re going to be nervous, and you may not be bringing your A-game. If you feel super confident after your first run, try something a bit more difficult on the next one.
Every bike park differs in trail conditions, difficulty, and progression. You might get to a point where you can ride advanced trails at one hill, but can only ride intermediate at another. That’s totally fine. A lot of parks have beginner trails that are just super fun to ride, and if that’s where you want to ride, that’s where you ride.
Downhill mountain biking is physically and mentally demanding, and an awesome way to spend a summer day. Grab a bike, get geared up, and head to the bike park so you can experience it for yourself. Find your confidence and bring sexy back.
Happy Riding!
Next up: Different types of trails you will find at the downhill bike park
Blog Post Written by: Kristie Sandquist